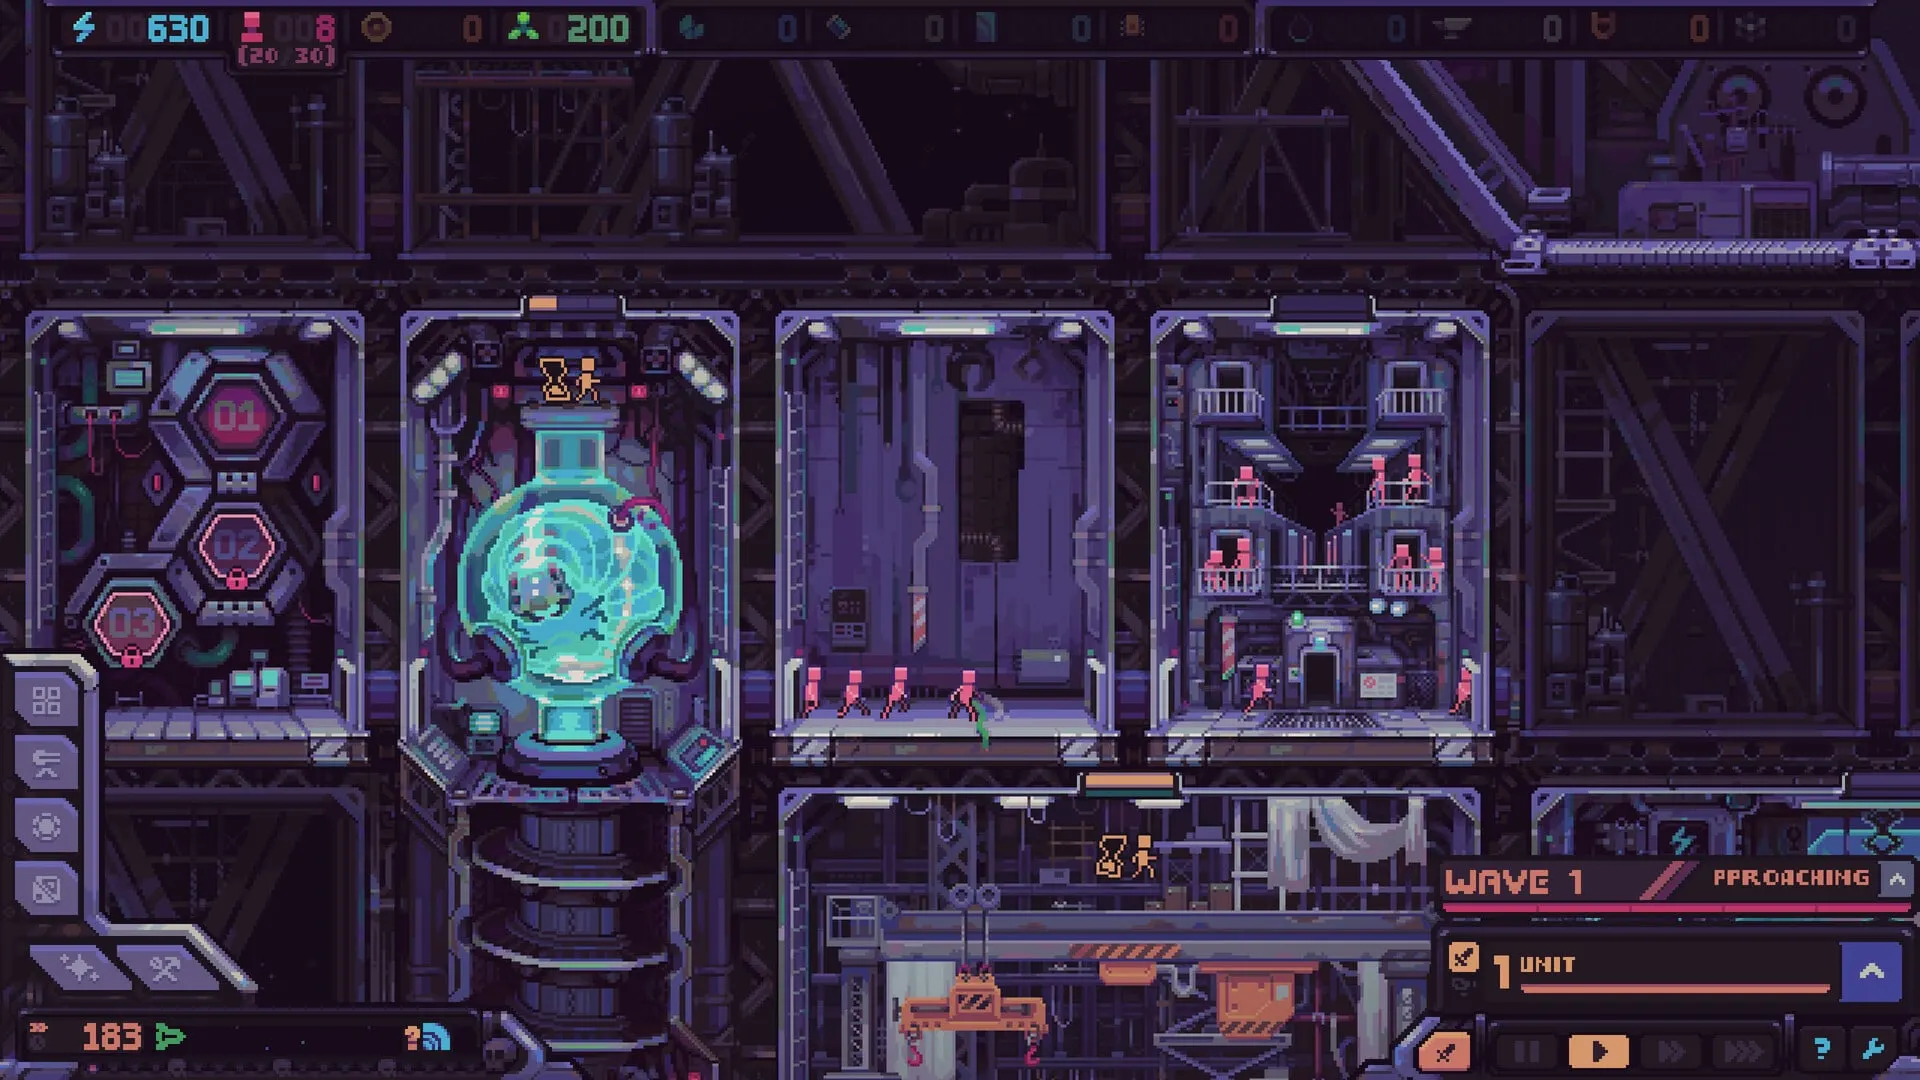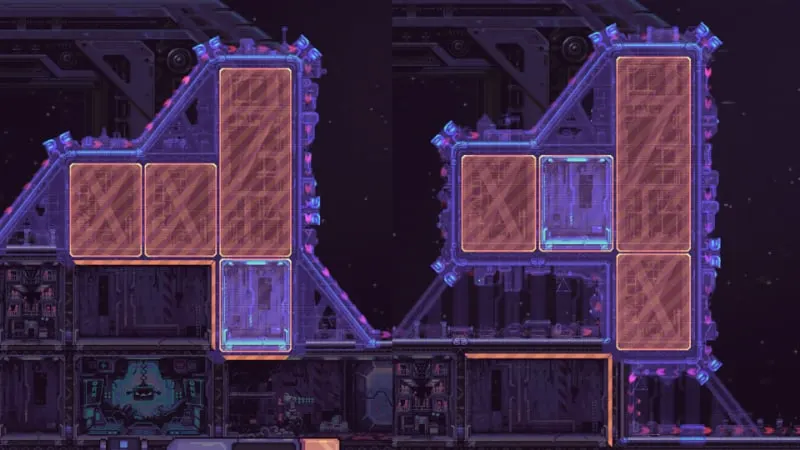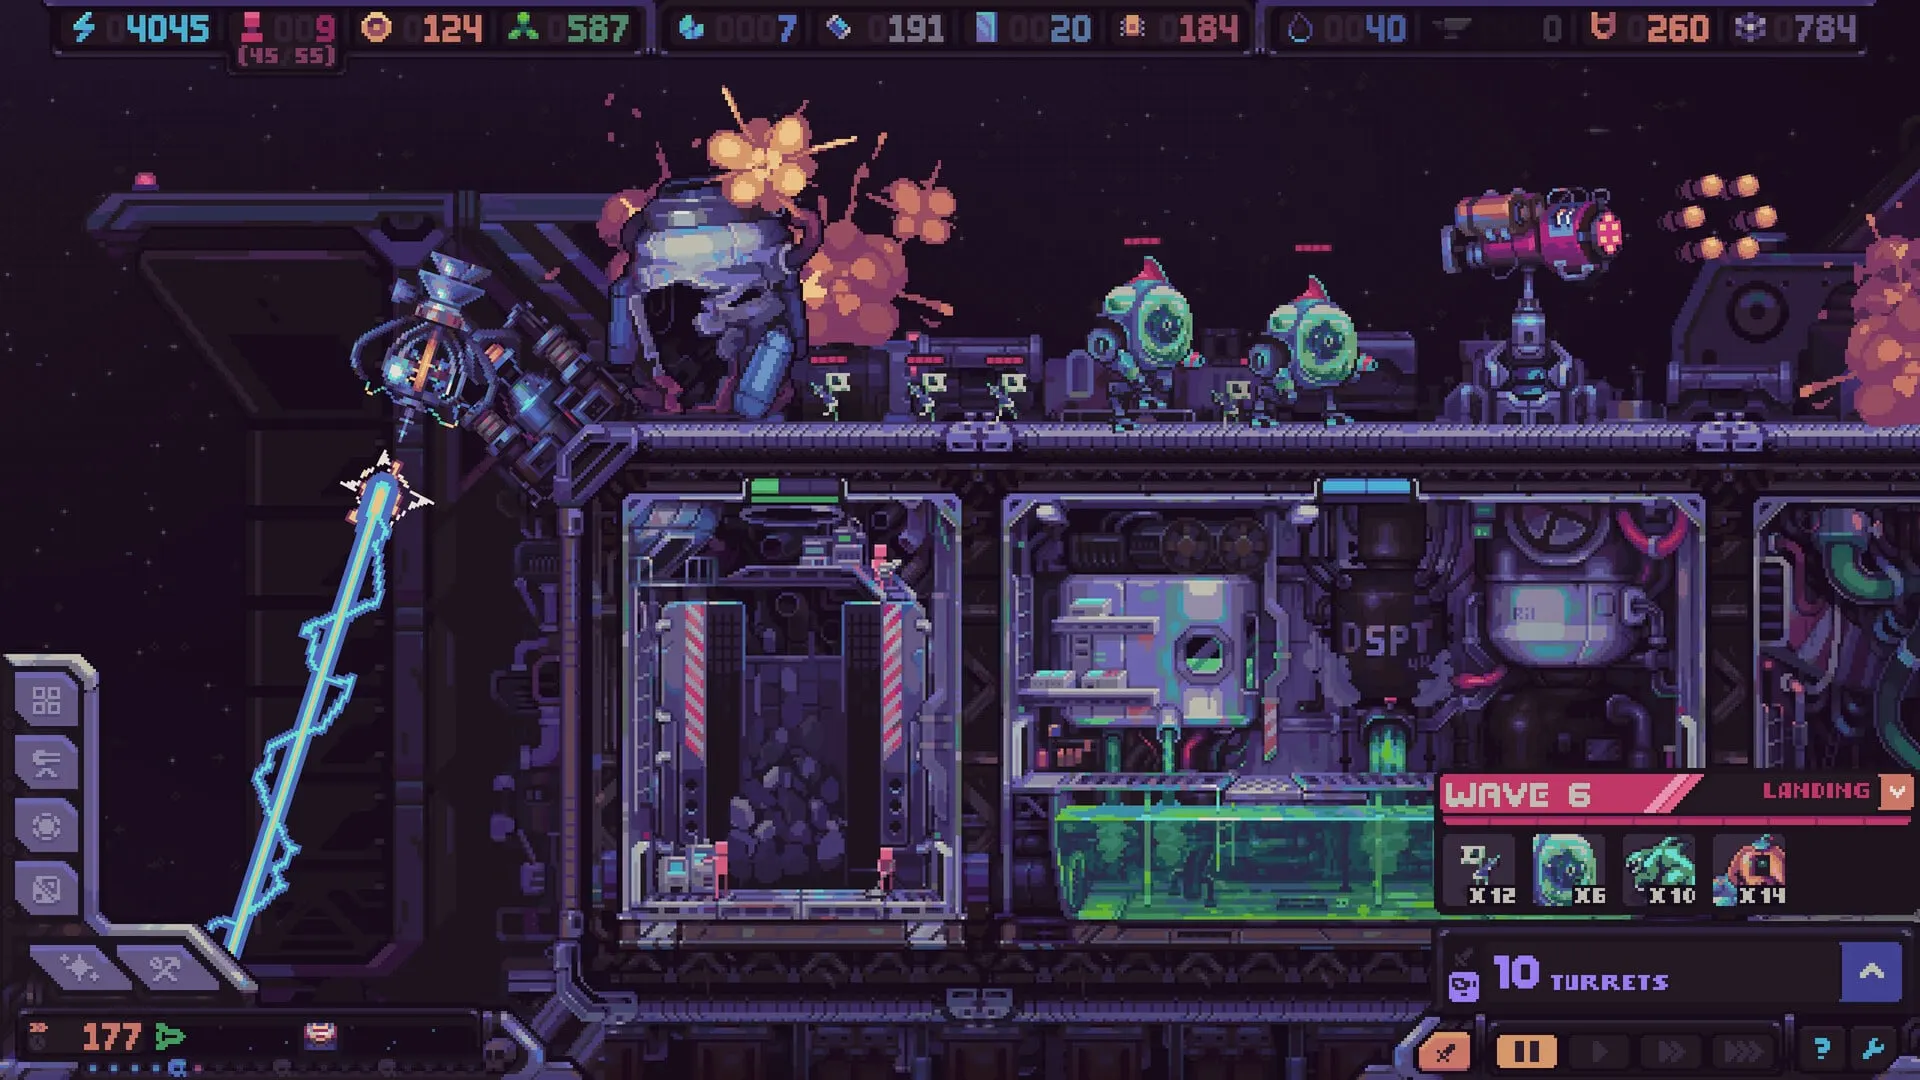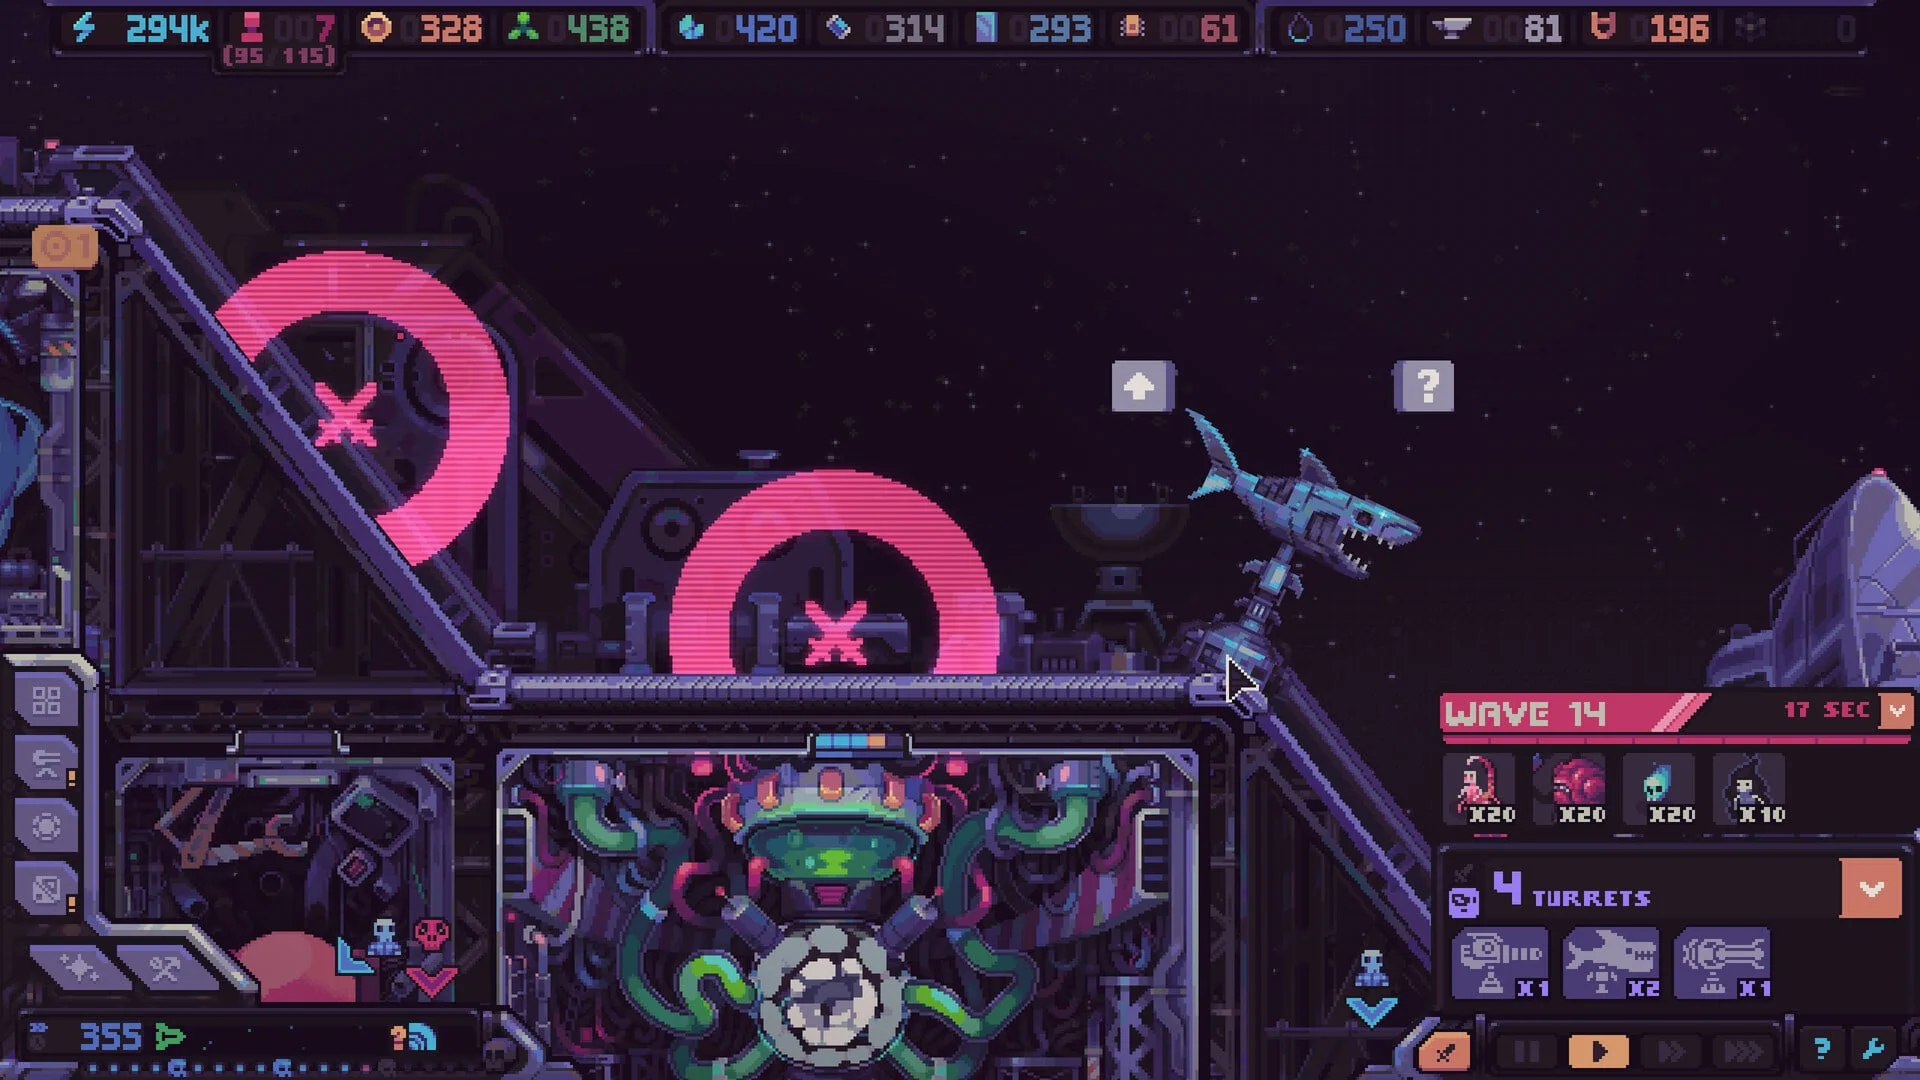
Hull Rupture does not hide its threats. It tells you when a wave is coming, how many enemies are in it and roughly where they will land. Hull Rupture enemies are legible; the difficulty is that the information arrives while your economy is still running, and the answer always competes with a dozen other things you could build.
Anatomy of a wave
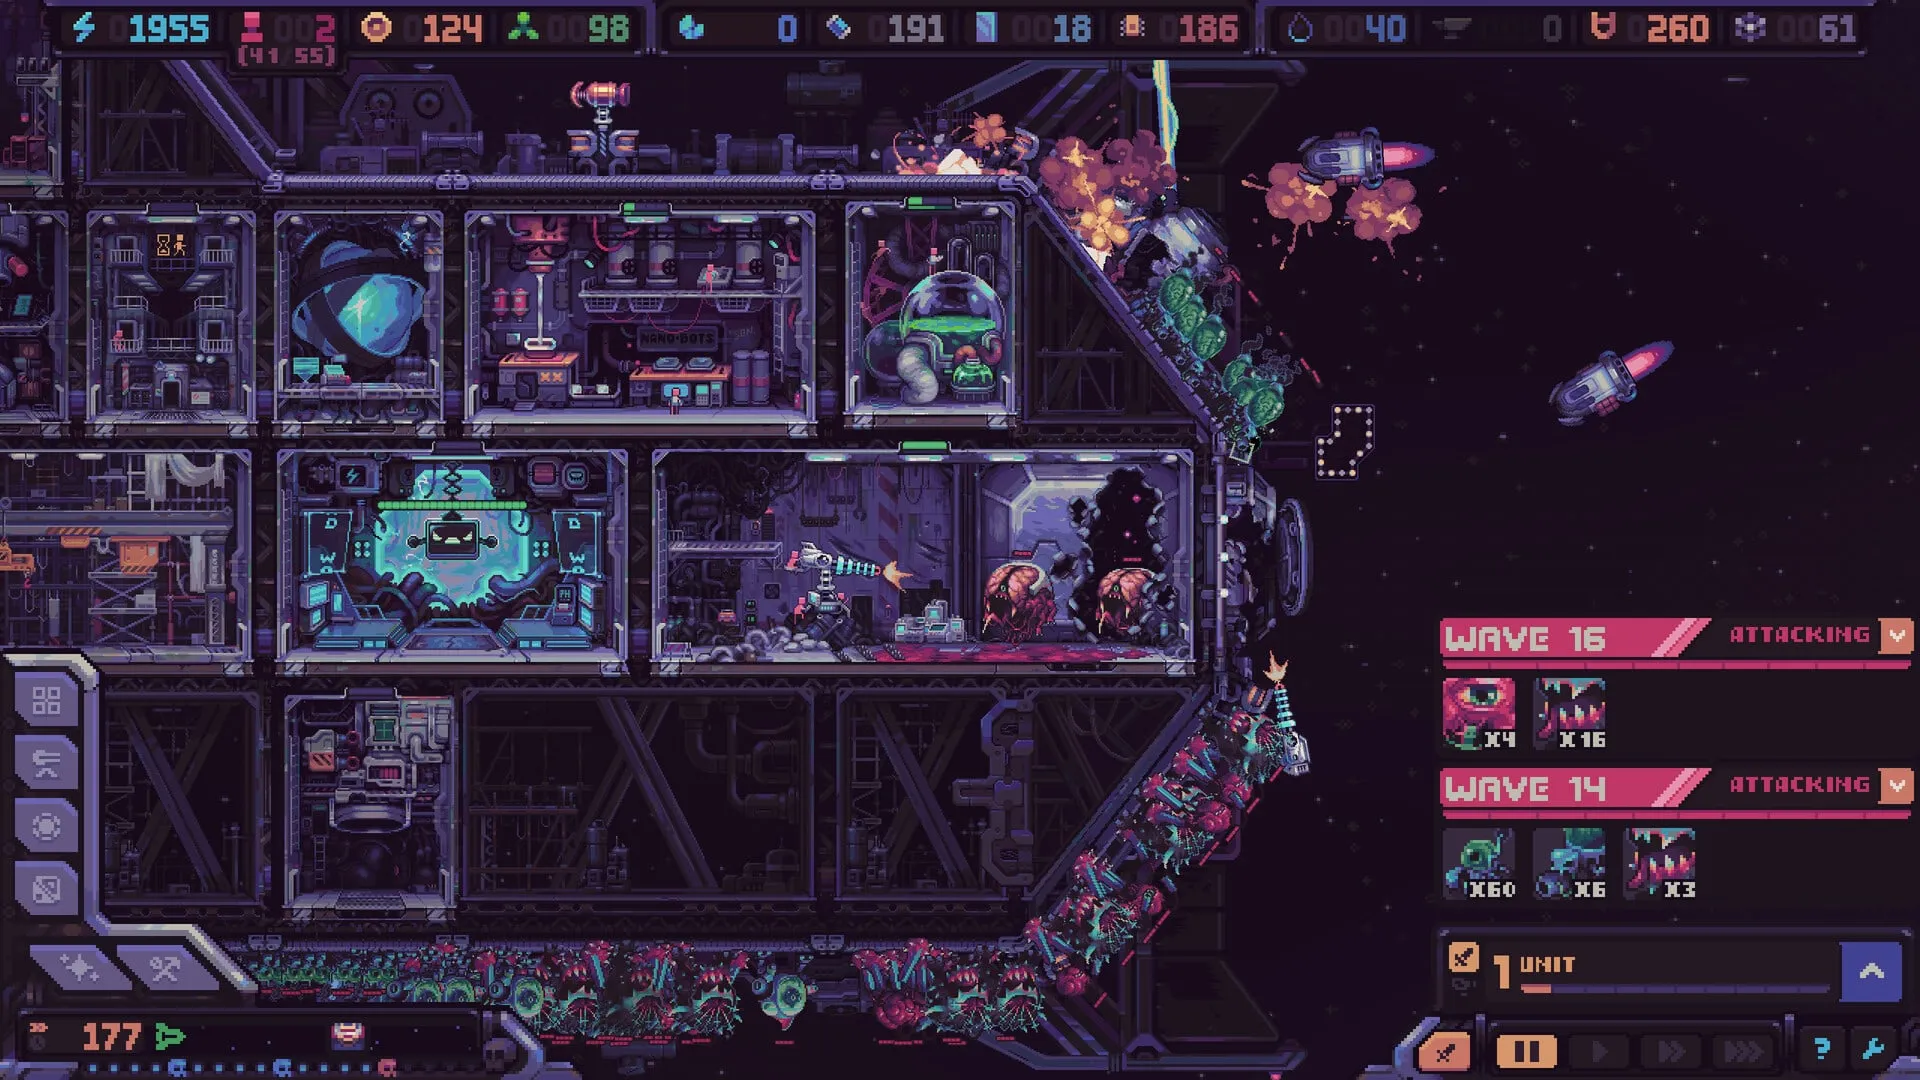
- Warning. The next wave is announced with a countdown and a preview of enemy types and quantities.
- Drop pods. Aliens land across most of the ship’s outer surface, not at a single door.
- The run. They move along the hull and through internal corridors toward the Airlock.
- The breach. Turrets, traps and barricades thin the group. Anything that reaches the Airlock meets your crew.
- The aftermath. The post-battle shop opens. You spend tokens, repair damage and prepare for a stronger wave.
The structure is built around 20 waves in Classic, ending in a final boss. Each wave grows stronger and more aggressive, which means the defense that trivialized wave 5 is not necessarily the defense that survives wave 15.
Alien archetypes
Konfa Games has not published an official enemy compendium with names and stats. What the screenshots and developer descriptions support are distinct threat roles. Use these to evaluate a wave composition, not as official species names.
Swarms
Many weak bodies that overwhelm single-target defenses. Answer with area damage, chokepoints and overlapping fire.
Armored brutes
High-health units that soak damage and force a breach if your kill zone lacks sustained damage or Fragility.
Fast runners
Units that cross the hull quickly and punish thin coverage. Slow effects, traps and a staffed Airlock help.
Ranged attackers
Threats that can damage modules or defenders from a distance. Kill them before they settle into a firing position.
Elites
Rare, tougher variants that anchor a wave. Treat them as mini-bosses and make sure the lane has a finisher.
Bosses
Large threats with dedicated health bars. They land far upper-left and demand a prepared lane, not an improvised one.
Counters by role
| Threat | Weak to | Placement note |
|---|---|---|
| Swarms | Explosive / area damage, chokepoints | Let them bunch in a corridor before the first big hit. |
| Brutes | Fragility, sustained long-range fire | Put the debuff early, the damage behind it. |
| Fast runners | Slows, traps, barricades | Control the outer approach, not just the Airlock. |
| Ranged | Long-range kill zones | Deny them time to set up; open corners help. |
| Elites / bosses | Debuff stacking, dedicated lane | Prepare the far upper-left approach before the fight. |
Bosses and the final fight
Bosses are the clearest example of Hull Rupture’s “known threat, hard answer” design. They always land at the far upper-left of the ship, furthest from the Airlock. That gives you a fixed lane to build around in the late teens. A long approach, overlapping long-range fire and a short-range finisher near the choke is the reliable pattern.
The final boss is not just a bigger wave. It has its own health bar and enough durability to expose weak spots in your build. If your defense relies on one premium turret, a boss that survives the first burst can walk through the gap. If your economy is fragile, the fight can outlast your fuel or your workforce.
Boss preparation checklist
Before the final lane
- Far upper-left lane is covered end to end
- Long-range turrets have open sightlines
- A Fragility or slow source is active
- No turret is mid-relocation
- Fuel and bioreactor queue are stable
- Workforce can absorb a few losses
- Airlock has a credible last line
- Repair resources are banked
No official enemy names yet
This archive describes threat roles, not an official species list. Enemy names, exact stats and wave tables are not public. Do not treat community labels as canon; use the in-game preview before each wave.
Next step
Build the lane these threats have to walk through. The turret and defense guide covers kill-zone construction, and the Hull Construction guide covers route shaping.