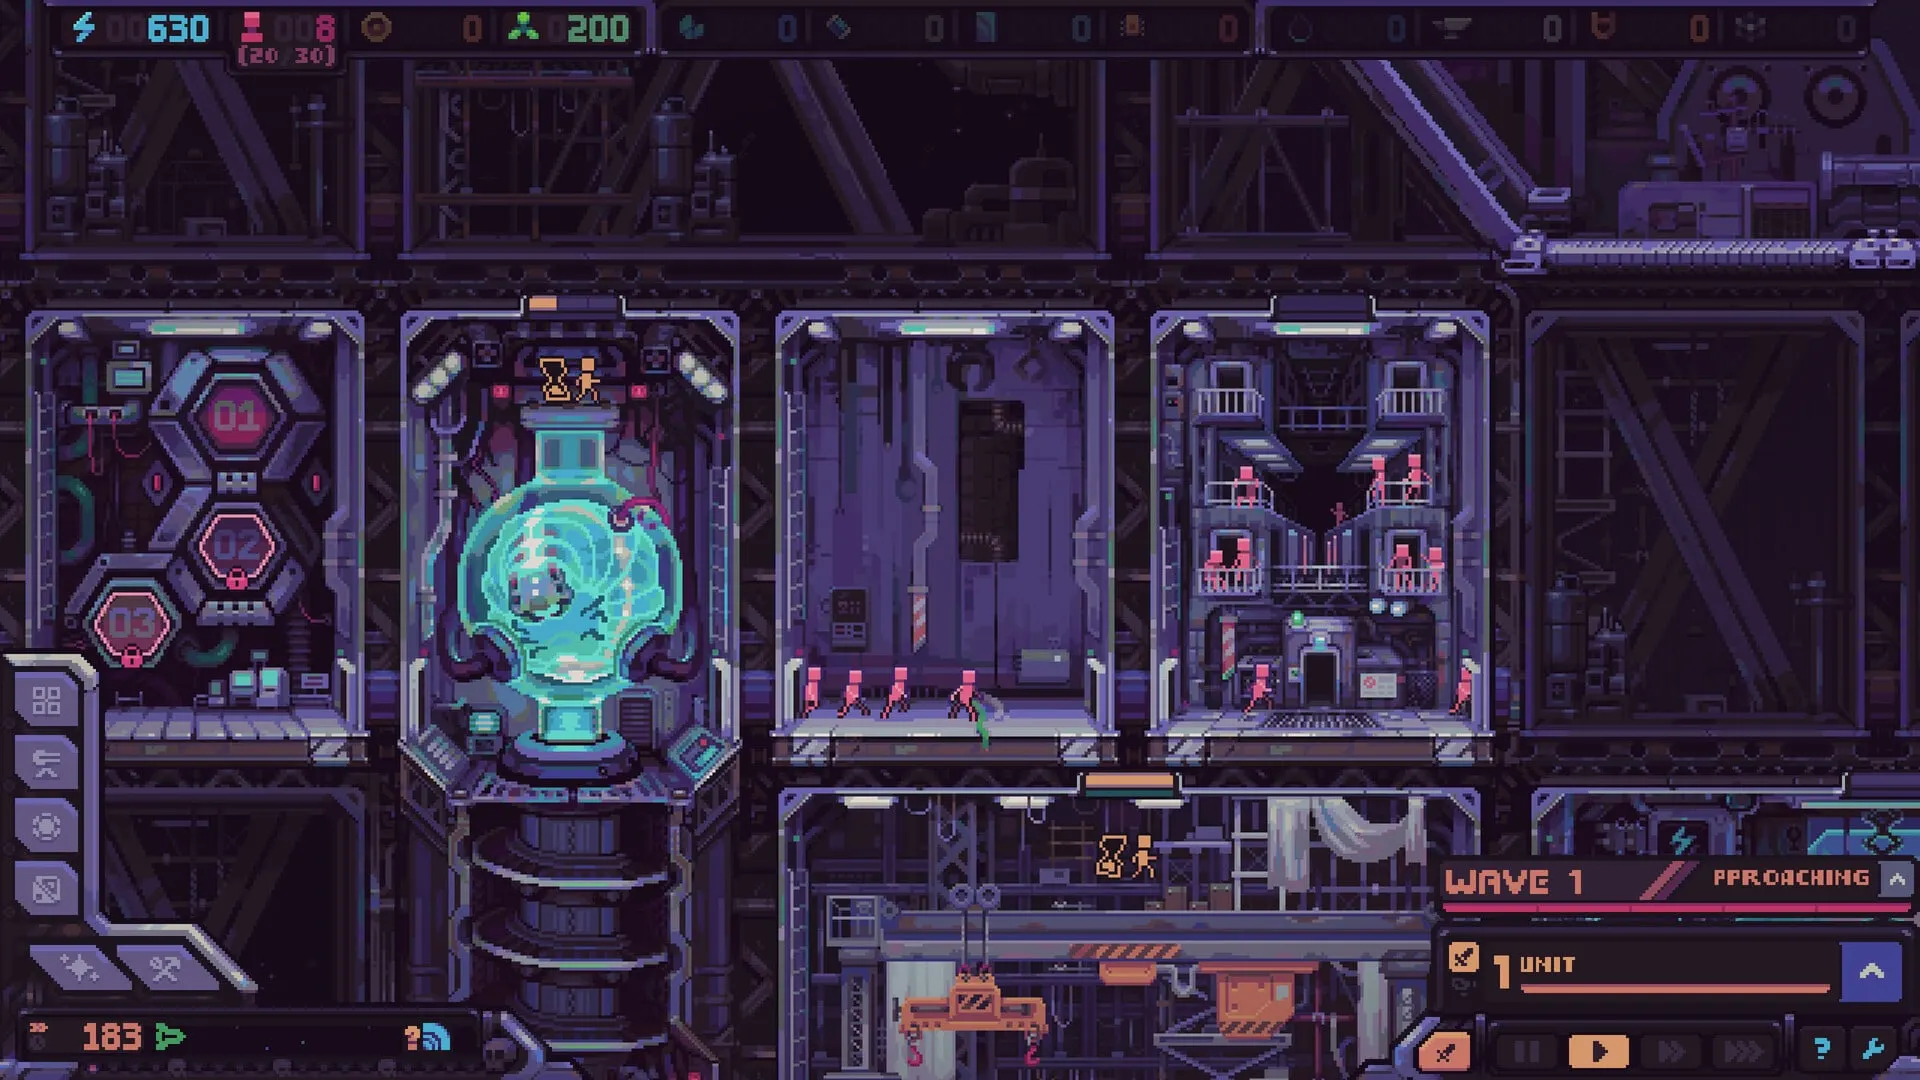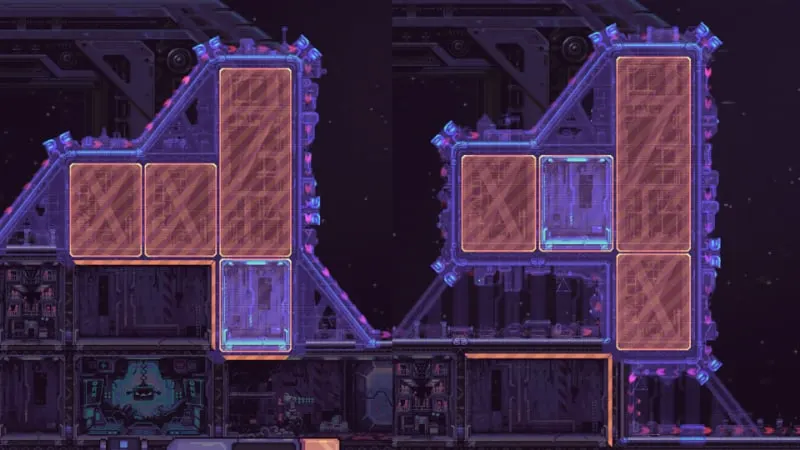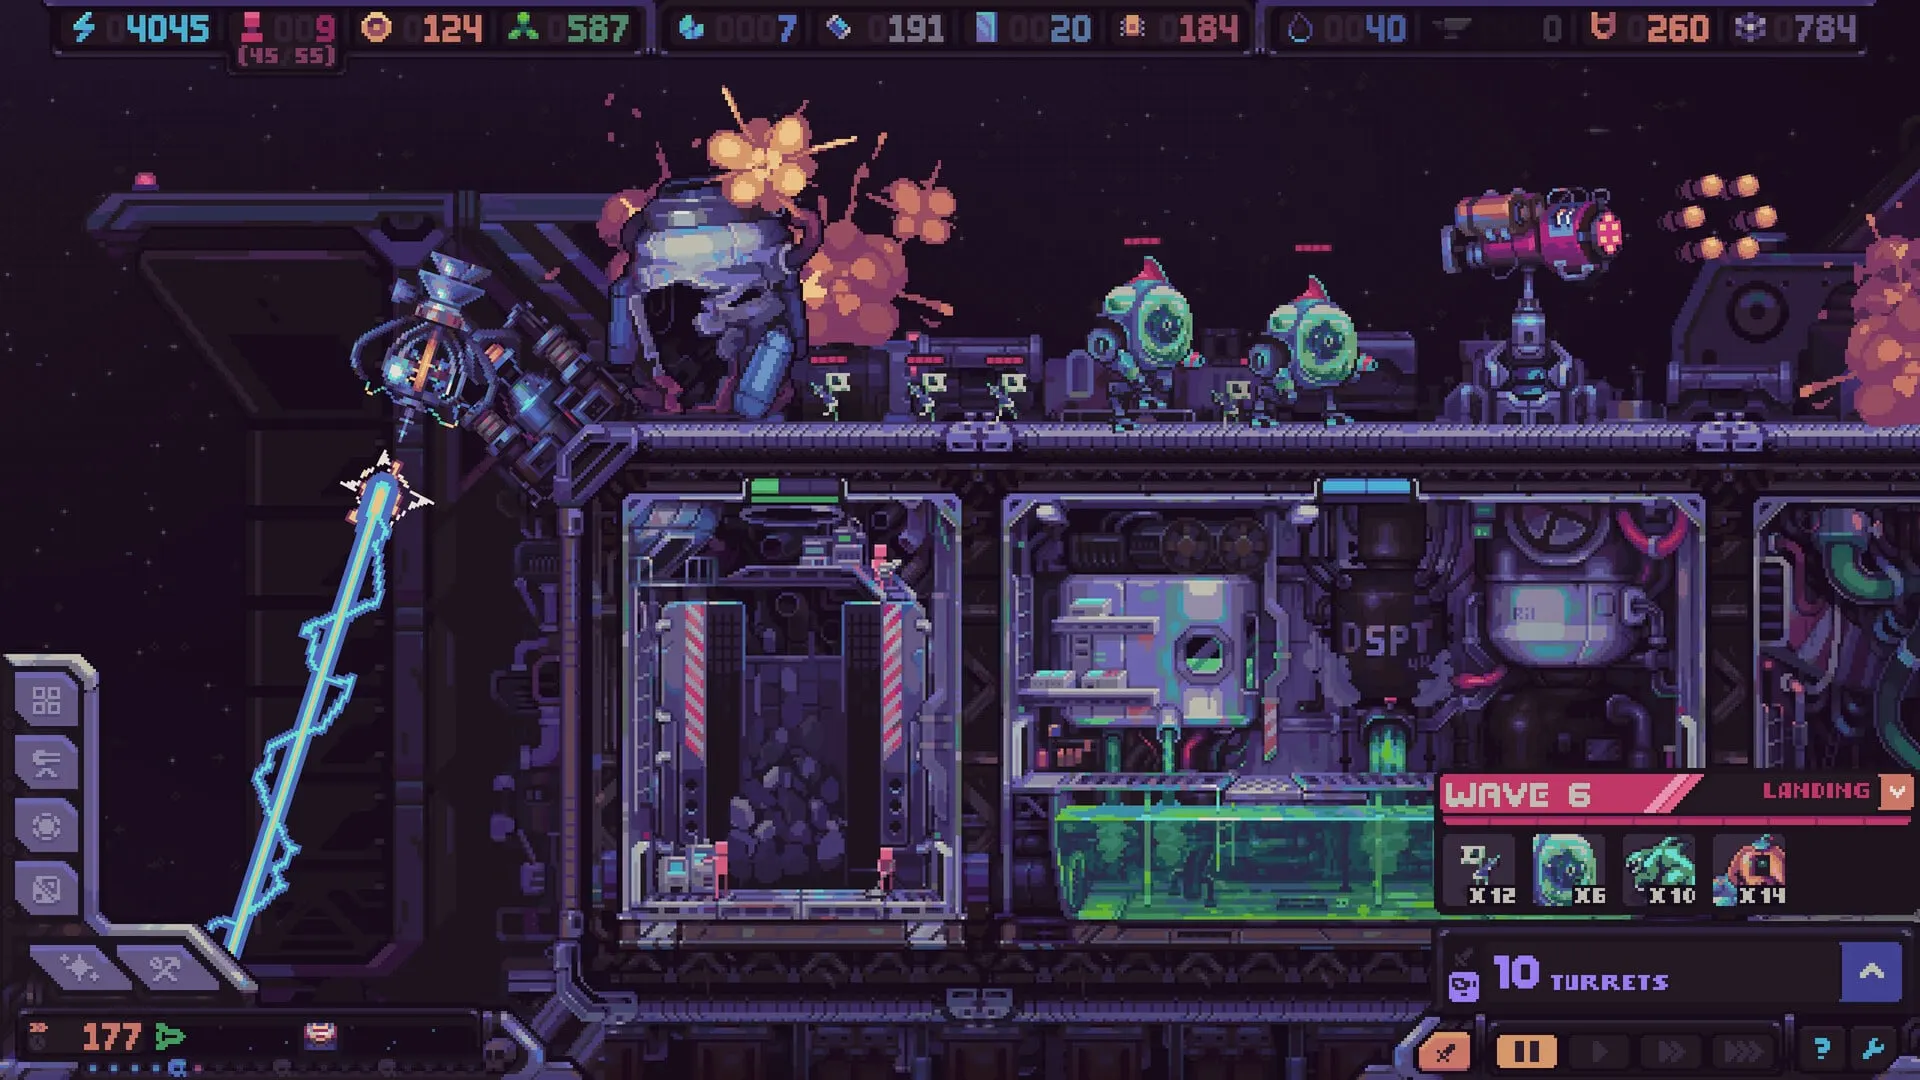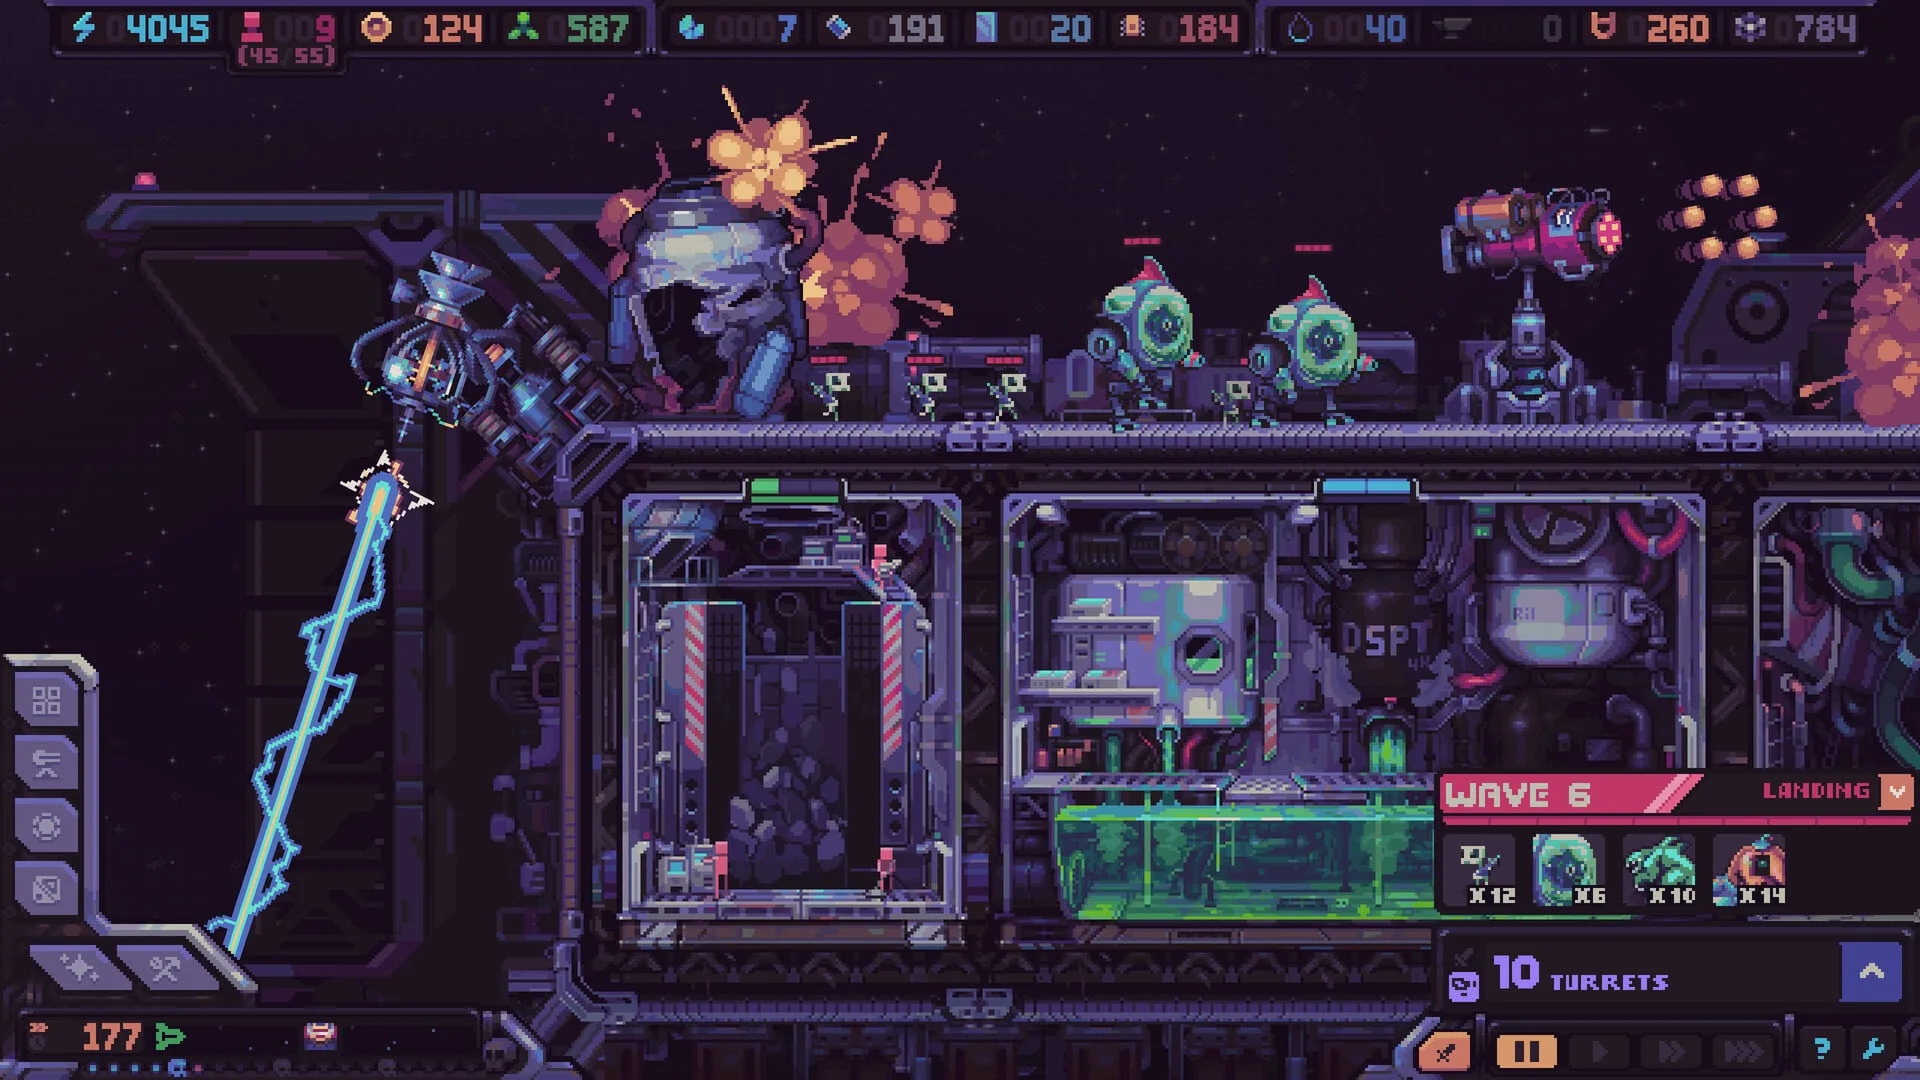
Hull Rupture turrets are not a single tier list. This defense is a placement puzzle: hull geometry, turret range, debuff coverage and airlock depth all interact. This archive groups the confirmed defenses by role so you can build a layered kill zone instead of stacking one favorite gun.
Defense overview
Aliens land across most of the outer hull and run toward the Airlock. Turrets occupy dedicated slots along the route. Each wave grows stronger, so a defense that works at wave 5 may fail at wave 15 without a change in composition or layout. The Airlock and its crew units are the last line, not the plan.
Turret and defense table
| Defense | Group | Role | Best placement |
|---|---|---|---|
| Gun Turret | Kinetic | Reliable single-target hull defense | Open stretches and general-purpose coverage |
| Long-range turret | Kinetic / Beam | Reaches across open hull sections and lines of fire | Exposed corners, long straight hulls and boss lanes |
| Short-range turret | Kinetic | High output in confined space | Enclosed gaps, corridors and tight kill boxes |
| Beam turret | Energy | Applies or benefits from debuffs such as Fragility | Synergy builds using Reproducer Eyes and damage amplification |
| Ricochet turret | Kinetic | Bounces projectiles through corridors | Twisting internal routes and stacked enemies |
| Rat Turret | Control | Turns a hit enemy into a rat | Disrupting high-value targets; added in demo patch v0.10.12 |
| Rocket / explosive turret | Explosive | Area damage against packs | Dense landing zones and clustered boarding parties |
| Traps & barricades | Control | Slow, redirect or block alien routes | Extending time in the kill zone and protecting turret uptime |
| Airlock units | Crew | Fencers, Punishers and expendable defenders | Last-line emergencies; support turrets rather than replacing them |
Turret archetypes
Kinetic workhorses
The Gun Turret and similar kinetic weapons are the reliable baseline. They do not need a specific debuff to function, which makes them good early purchases and good coverage for lanes that do not justify a specialized slot. Their weakness is scaling: raw single-target damage alone struggles when waves become dense.
Long-range and beam weapons
Long-range turrets want open corners and straight hull sections. Beam turrets can apply or benefit from debuffs such as Fragility, especially with modifiers like Reproducer Eyes. Put the debuff source early in the lane so every turret behind it benefits from the multiplier.
Close-range and ricochet
Short-range turrets and ricochet projectiles want enclosed corridors where enemies bunch up. These weapons waste their potential on open hull edges where targets spread out. Build the corridor first, then put the gun in it.
Control and disruption
The Rat Turret, added in patch v0.10.12, turns a hit enemy into a rat. That is a disruption effect, not a raw-damage upgrade: it is strongest when it removes a dangerous target from the pack or breaks a boss escort. Control turrets are force multipliers, not replacements for damage.
Names are not a complete roster
The full turret roster is larger than the publicly confirmed list. The game has long-range, short-range, beam, ricochet, explosive and control roles, but not every turret name has been published. The archive will expand after launch.
Placement rules that always apply
- Cover both hull sides. Drop pods land across most of the outer surface; one-sided defense invites a breach.
- Overlap fire arcs. Two turrets covering the same segment are better than two turrets covering different empty space.
- Put long range on open corners. Premium sightlines should not be wasted on short-range guns.
- Put short range in corridors. Confined space turns a modest gun into a reliable killer.
- Add control before more damage. A slow or Fragility effect multiplies every turret already in the lane.
- Prepare the boss lane. Bosses land far upper-left, furthest from the Airlock. That lane deserves dedicated coverage.
Airlock units: the safety net
Humans can be assigned to defensive roles such as Fencers and Punishers, or used as meatshields. These units are useful for catching leaks and slowing a boss that reaches the final room. They are not a substitute for turret coverage. The September rebalance weakened unit-based defense and nerfed Cheat Code, making the Airlock a last line rather than a main strategy.
Keep the Airlock path clear, staff it with units you can spare, and do not pull critical workers out of production to create a large standing army. A turret kill zone that works is cheaper than a pile of bodies that has to.
Next step
The turret and defense guide explains kill-zone construction in detail, while the enemy database covers the wave threats these defenses must answer.