Hull Rupture is not hard because the aliens are strong. It is hard because every solution creates a new dependency. More modules mean more power draw, more workers, more mass and more hull to defend. Your first run should be an exercise in doing less, earlier — then reinvesting the savings into the economy that carries the late waves.
This Hull Rupture beginner guide is written for the current Steam demo and the November 4, 2026 release. It works as a first-run walkthrough: the demo includes a tutorial, Classic mode, the Izumo and a full 20-wave run. If you have not installed it yet, read the demo guide first, then come back here with the controls under your belt.
Before wave 1: settings, pacing and the HUD
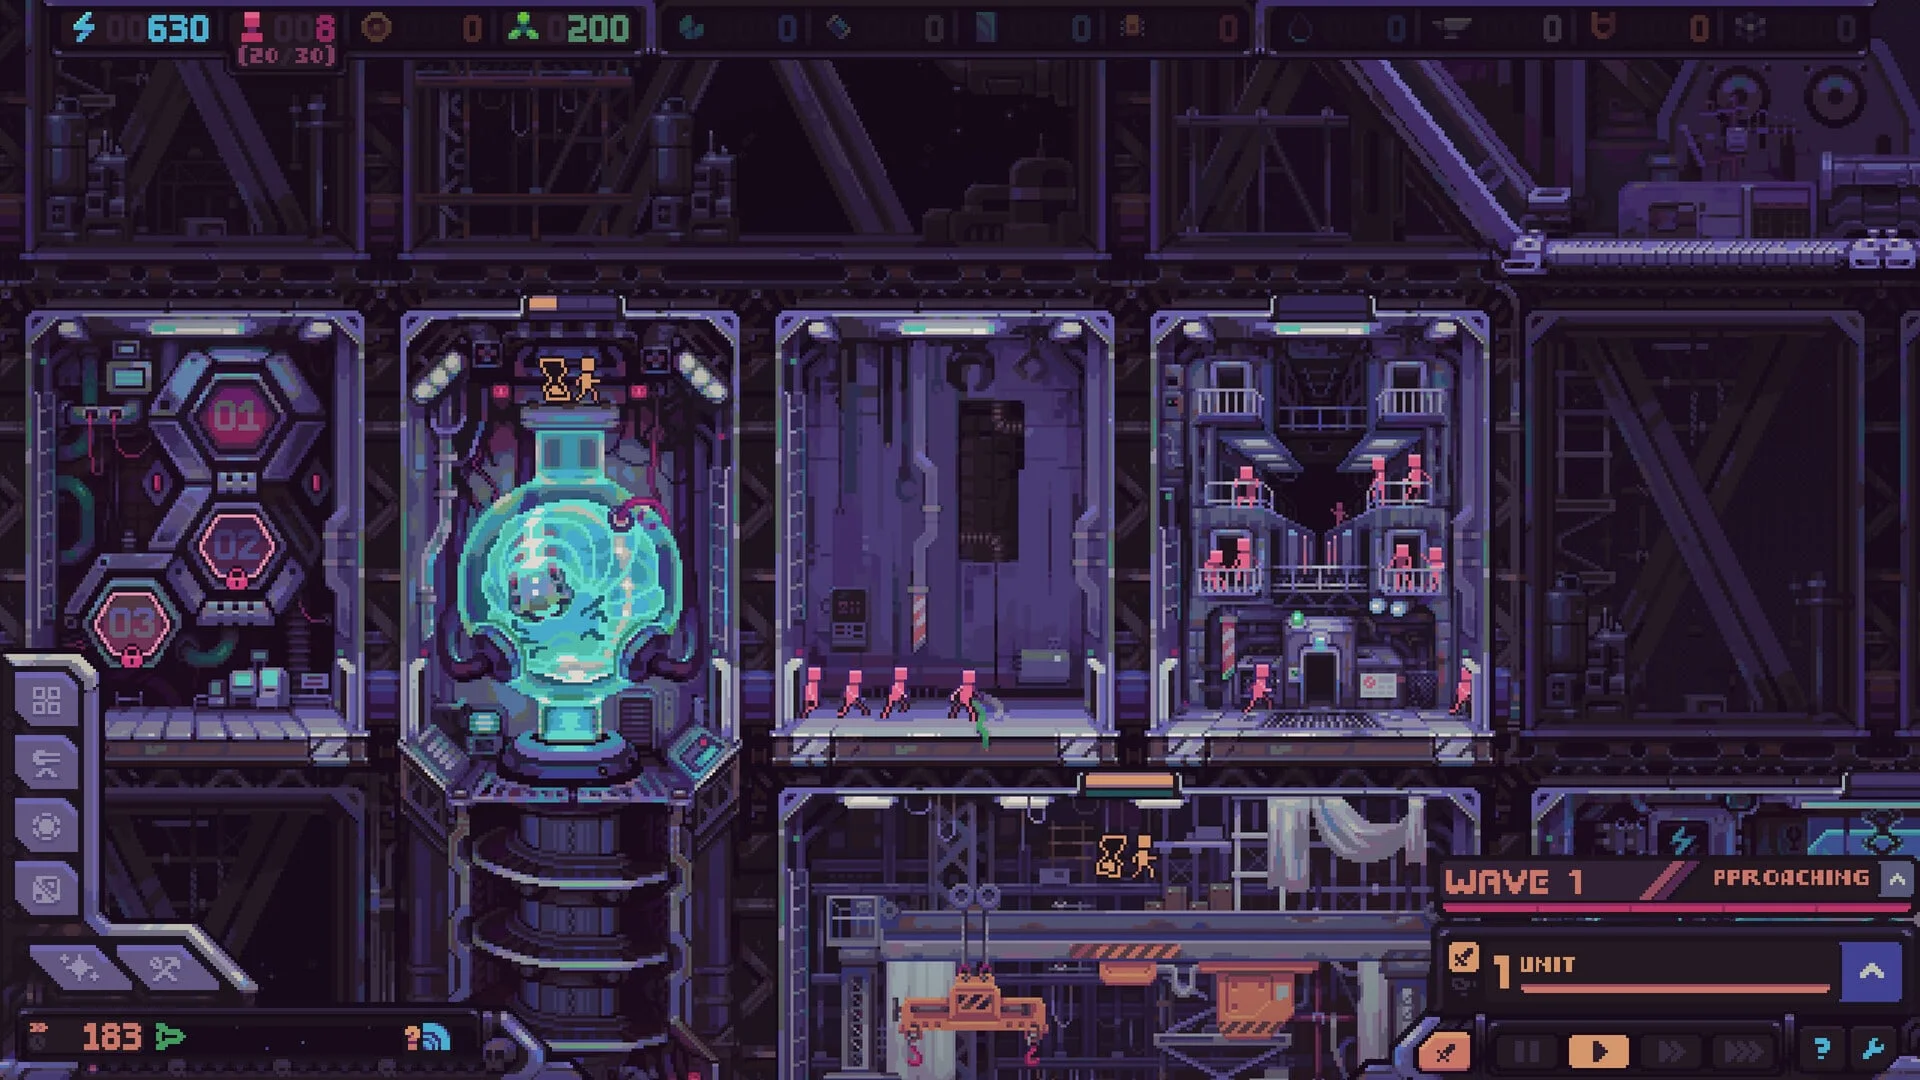
Do the tutorial. It explains the ship view, module construction, hull expansion and the post-battle shop. If you are returning from an older demo and the Hull Construction tutorial step is missing, re-enable the tutorial in the General settings. The September update added mechanics that old muscle memory will get wrong.
Then learn the three controls that save runs:
- Pause and speed. The game is real time, but you can pause to plan. Use it before every shop purchase and every hull placement. There is no prize for letting the factory idle while you read a tooltip.
- Info Mode. The bar-chart tab shows current stock and per-minute income for each resource. It is a measurement, not a forecast — but it tells you which chain is starving right now.
- The hull view tabs. The crossed-tools tab opens Hull Construction; the bar-chart tab opens Info Mode. Knowing where these are prevents accidental expansion.
Set a personal rule before the first wave
Never build a module that you cannot staff and supply. If the expected input is not already flowing, the module is a decorative hole in your ship until it is. Hull space is permanent; so is the mass it adds.
The real win condition: momentum, not kills
The store description is unusually literal: if the ship stops, humanity ends. Your objective is to keep moving while the Despot AI decodes the Galactic Union network over 20 waves. Dead aliens are a side effect. Production, fuel and travel speed are the actual scoreboard.
That changes how you value every room. A token generator is not “money”; it is flexibility for the next shop. A bioreactor is not “fuel”; it is a decision to spend future workforce on present momentum. A turret is not “defense”; it is insurance that the factory keeps running. When a build choice does not serve momentum, it is probably a trap.
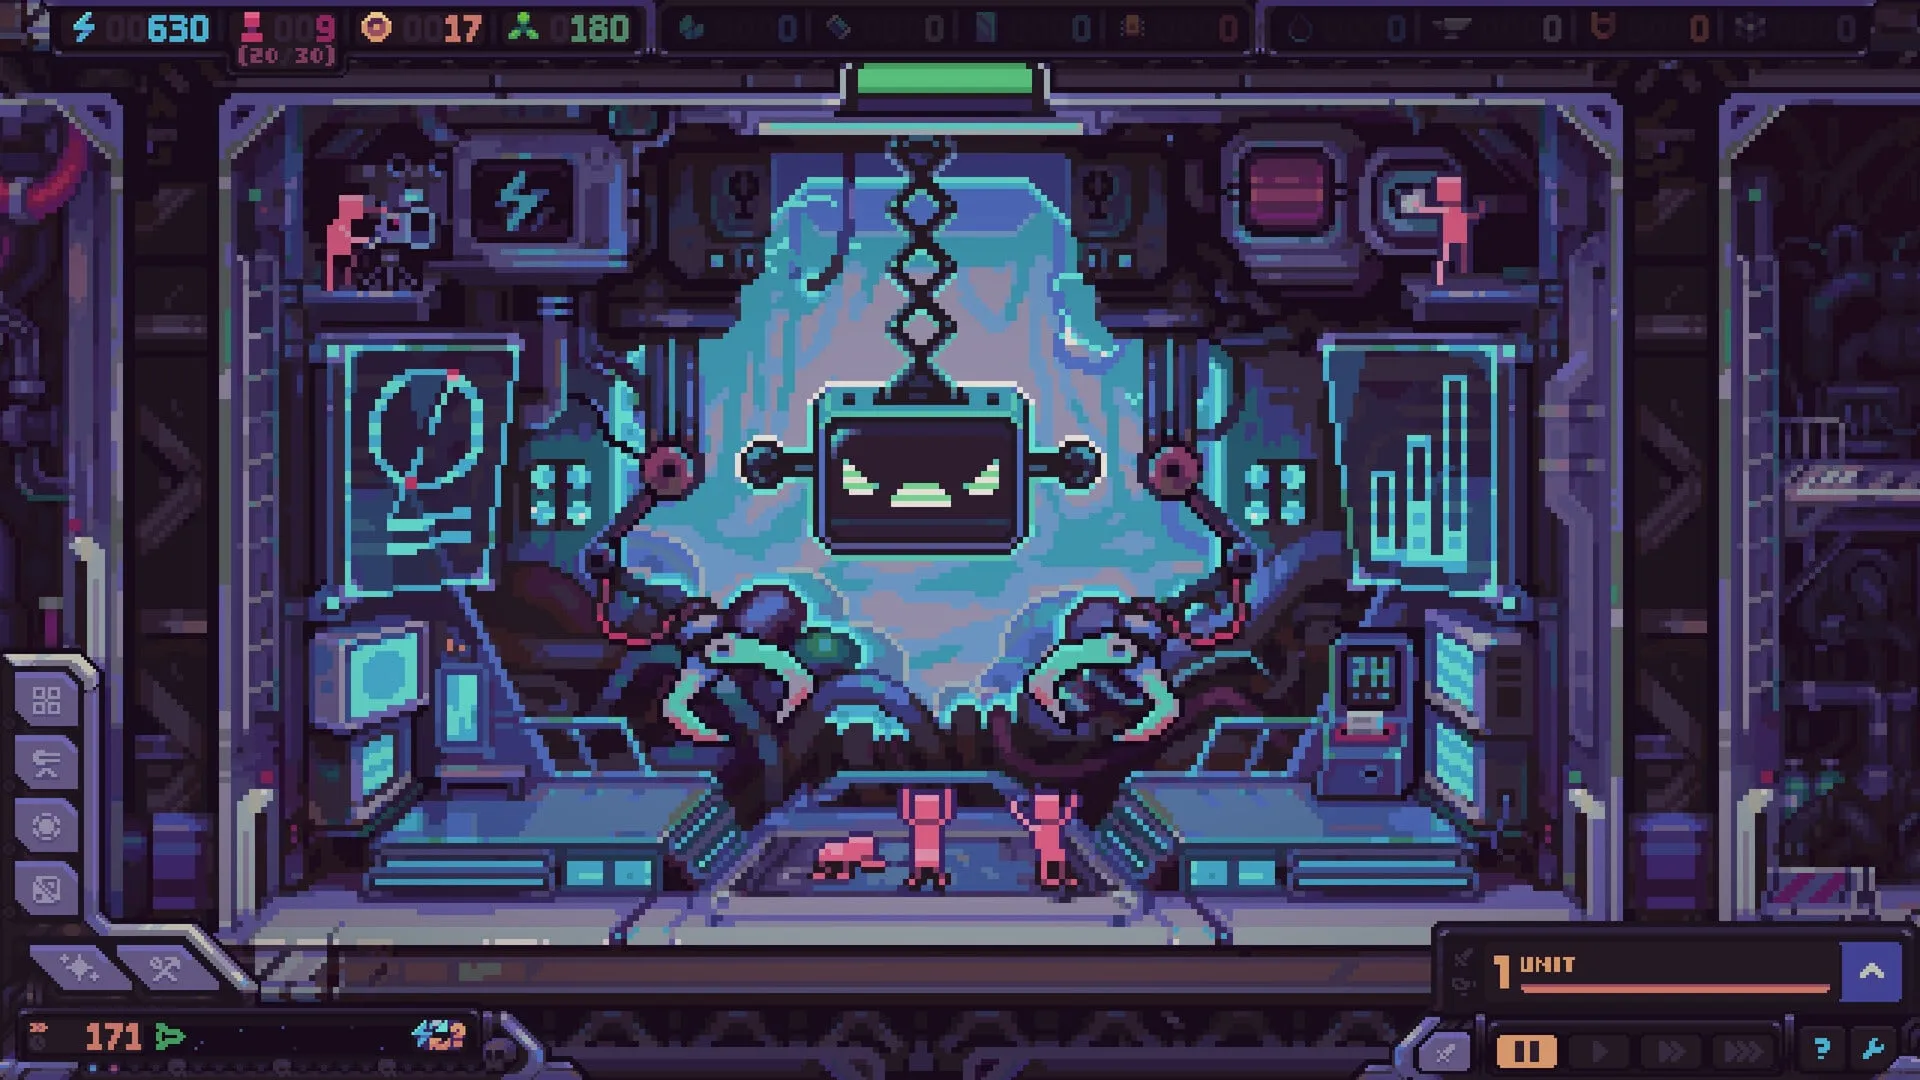
Waves 1–5: stabilize before you optimize
1. Confirm energy and workforce
Energy is the first gate. Modules need it, hull blocks need it, and a stalled generator turns the whole ship into a museum. Check that your power modules are staffed and that nothing is sitting unpowered. Then confirm your human production is running: without workers, every other module is furniture.
Your first economic target is a stable loop of humans → work → energy → more modules. Do not add a second converter until the first one is consistently supplied. The demo’s income display is your friend here; a healthy stock with a collapsing per-minute rate is a warning, not a victory.
2. Build a minimum defense, not a fortress
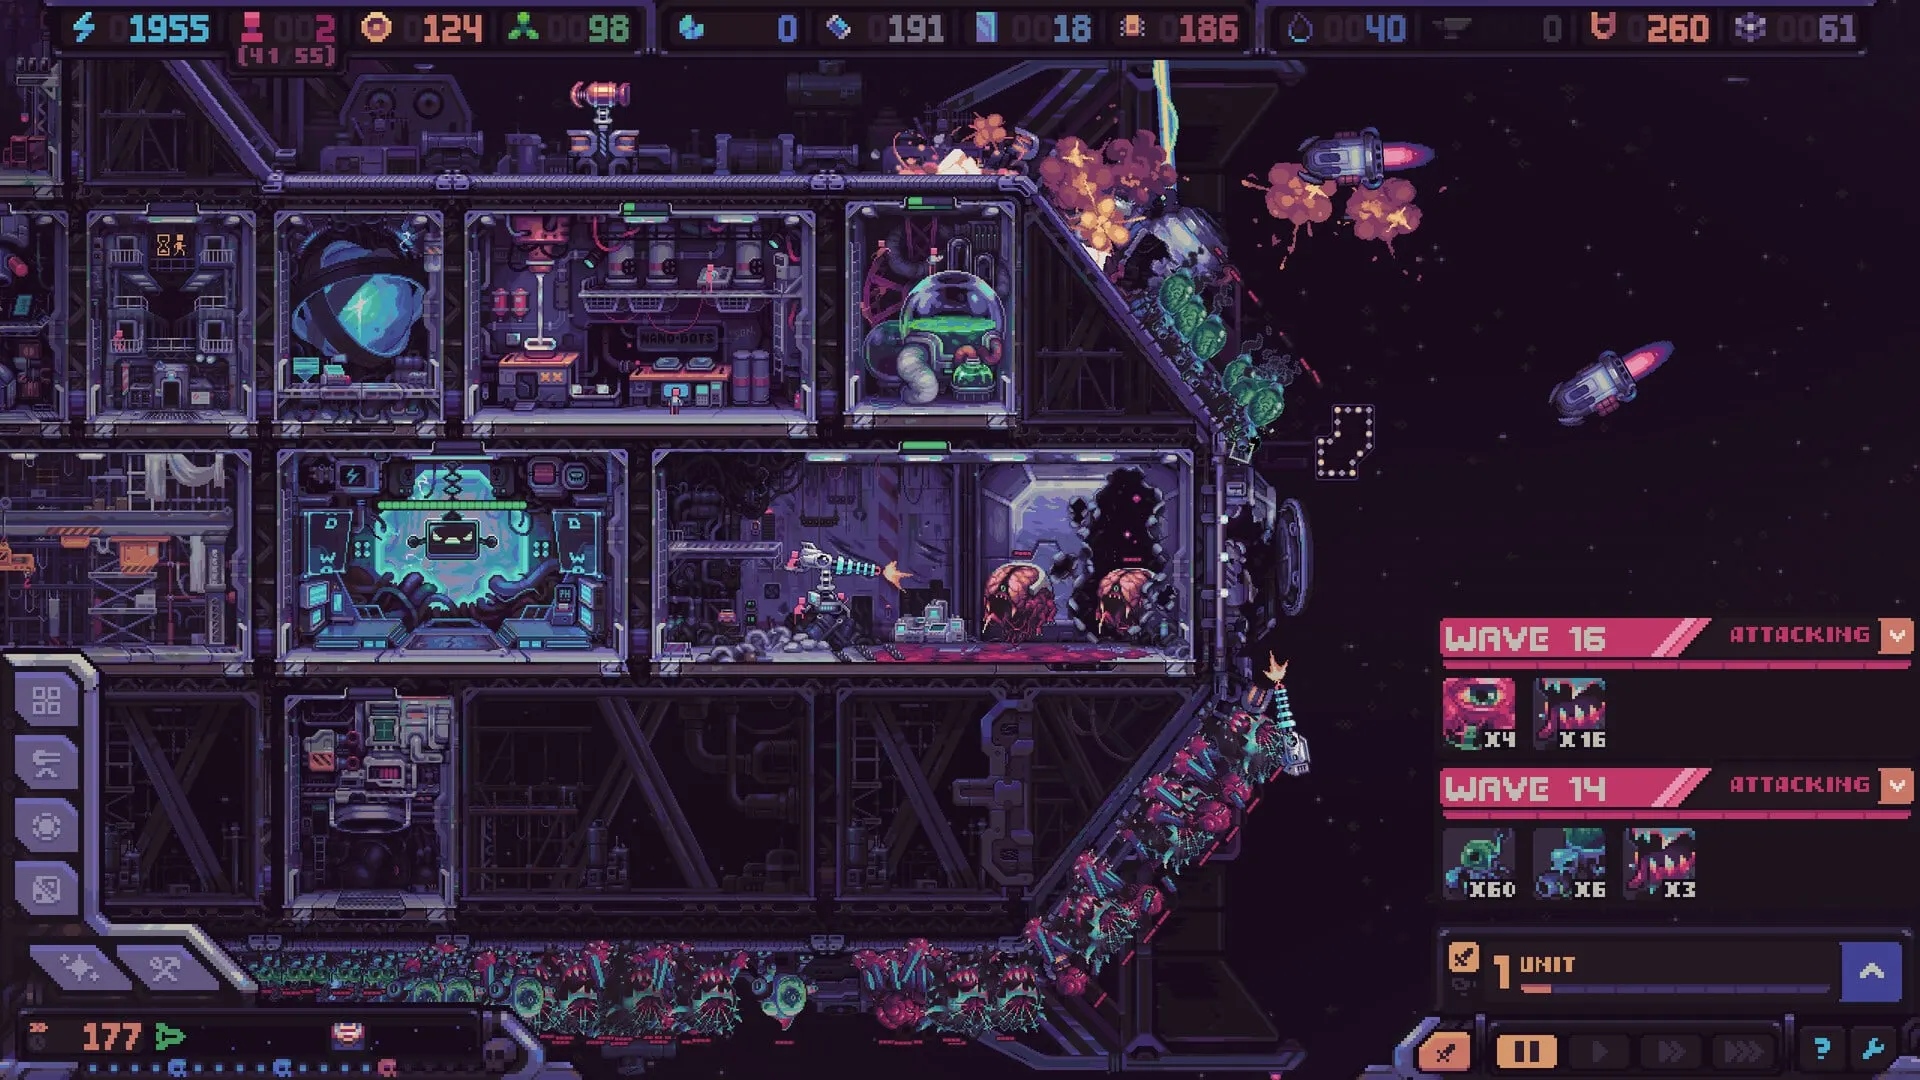
Aliens land across most of the outer hull and run toward the Airlock. In the early waves, one or two well-placed turrets can cover the approach while you invest in production. Put long-range guns on exposed corners and save enclosed stretches for short-range weapons later.
Do not rely on the Airlock’s crew as your main defense. After the September rebalance, developer intent is explicit: turrets first, crew second. Units at the Airlock are a safety net for leaks, not a strategy for wave 10.
3. Add fuel before the engine complains
Fuel keeps the ship moving. If your engine demand outruns production, travel slows and your route plan quietly dies. A bioreactor is the blunt solution: humans in, fuel out. Use its Auto control to maintain a small queue rather than manually stuffing workers into the furnace every few seconds. Automate the chore, not the entire workforce.
4. Spend the first shop deliberately
After each wave, choose a themed box. If anything reached the Airlock, buy defense. If production is stalled, buy modules. If you are not sure, buy defense — a dead ship has no economy. Unwanted kits can be sold, so a bad box is not a lost run, just a tax.
Waves 6–12: expand with intent
By now the ship should have a functioning loop and a defense that survives without constant panic. This is where most players over-expand. Hull Construction is exciting, but every block is permanent. Treat it like a city-planning decision, not a shopping spree.
Hull expansion rules that matter
- Never block the Airlock or Engine. The game prevents it, but plan around the restriction instead of discovering it mid-placement.
- New module slots need a completed neighbor. Expanding into empty space does not unlock construction until you build next to something finished.
- Blocks cannot rotate or be removed. Check the shape against your available kits before committing.
- Skipping costs resources. A bad shape is not free to refuse. Compare the skip price with the cost of a useful block.
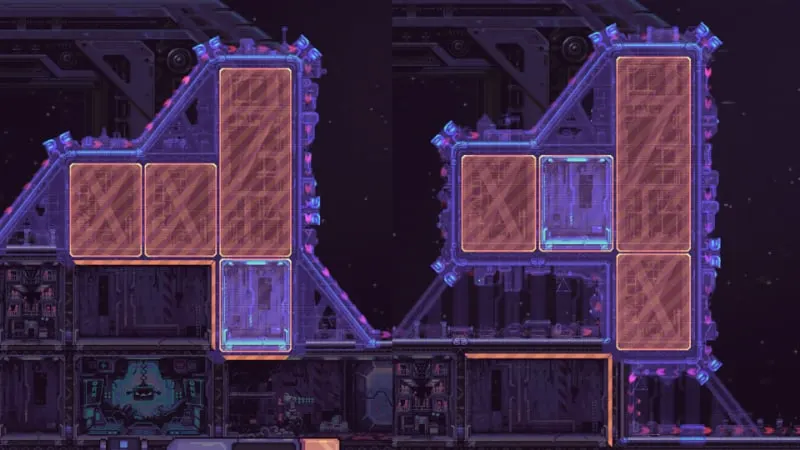
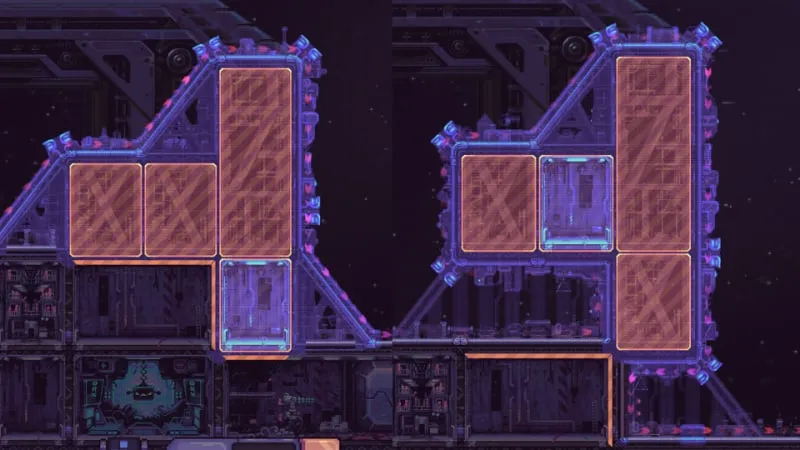
- Route length is defense. A separated block on stilts can create a corridor that keeps aliens under fire longer. A compact block is better for adjacency and crew travel.
The developer’s own examples show the tradeoff clearly: compact layouts improve artifact adjacency and shorten worker walks; extended layouts create longer enemy routes and better firing angles. Neither is universally correct. Pick the one your current build can exploit. The Hull Construction guide breaks down placement patterns in detail.
Staff the Despot’s Chamber
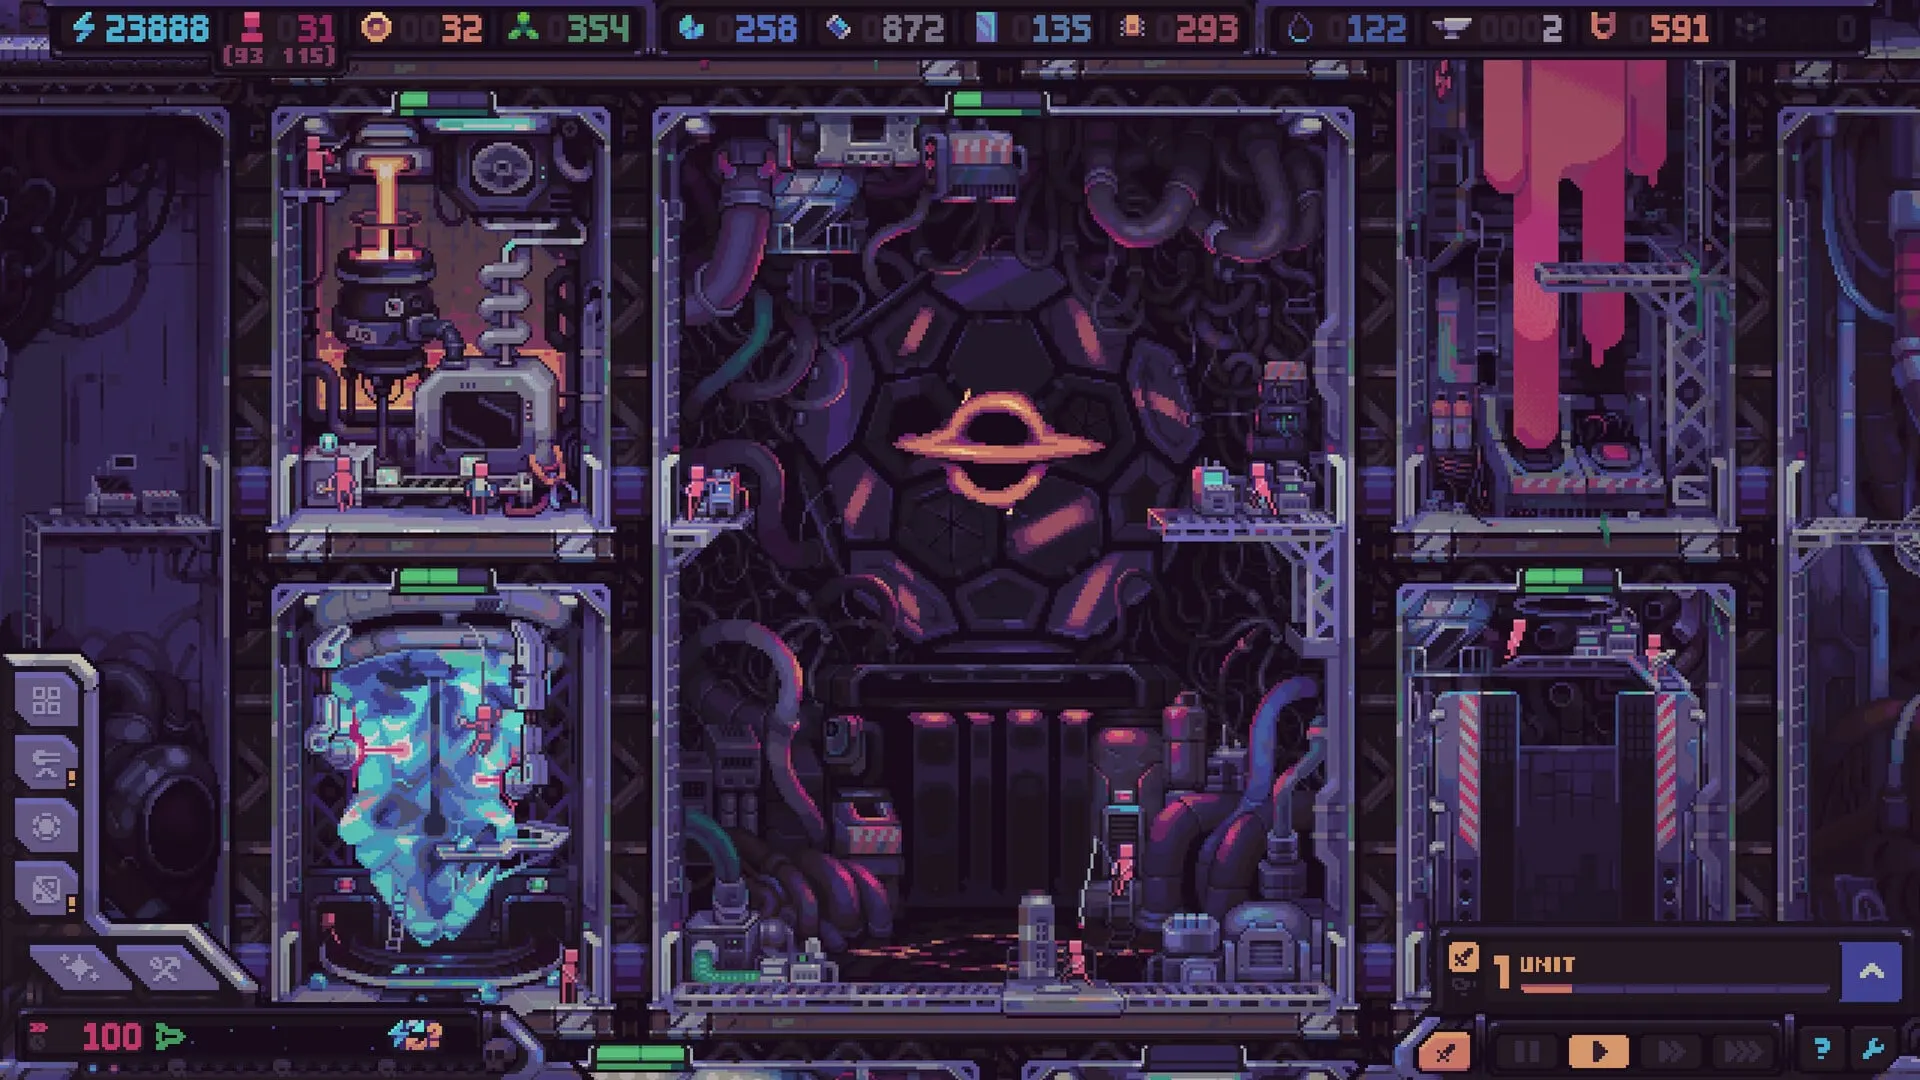
The Chamber produces free random module kits over time, faster with more humans. It is not a substitute for the shop, but it lowers the cost of experimenting. Staff it when the rest of the ship has spare hands; do not starve a production chain to print a kit you may not need.
Choose a route that feeds the build
Between waves, the galaxy map offers events, shops, shipyards and risk. If your economy is stable, take a profitable or modifier-rich route. If your defense is thin, take the safer path. Guarded locations can throw extra waves at you on higher difficulties; do not treat them as free loot.
Mass is a hidden cost
Every module makes the ship heavier. Heavier ships travel slower unless you add engines, and engines consume fuel. If your route plan depends on reaching several stars, weight is as important as firepower.
Waves 13–19: scale the factory, not just the guns
Late waves are a test of whether your economy can support advanced defenses. Microchips, nanobots, plasteel and adamantium unlock the higher tier, but they also require longer chains. The September rebalance made microchips easier to produce, then raised the demand for good guns. In practice, that means you should be transitioning from “enough turrets” to “the right turrets in the right places.”
Three priorities define this phase:
- Protect the production core. If a wave reaches your generators or converters, the next wave is already lost. Add coverage around the inner approach, not just the outer hull.
- Build layered kill zones. Slow or block enemies at the edge, damage them through the corridor, and finish leaks at the Airlock. A single strong turret is worse than three overlapping positions.
- Stop buying randomly. Use the shop to fill a specific gap: a debuff, a long-range lane, a converter input. If a box does not address a known problem, sell the kit and save for the next wave.
Use turret movement instead of demolition
Turrets can be moved for free, but relocation takes a long time and includes downtime. Moving is ideal when a weak turret occupies a premium slot or when a boss lane needs reinforcement. Demolition refunds construction resources but destroys the kit — so unless you want the slot empty, move first.
Artifacts and modifiers are build instructions
A single modifier can justify restructuring an economy. Reproducer Eyes, for example, lets Beam turrets apply Fragility, turning a production room into combat support. Mushroom minerals boost Mineral output while Mystic Goo stays below a threshold, which may be a reason to stop producing Goo entirely. Read the artifact before you buy the next generic upgrade. The artifacts and modifiers guide explains the two reward pools.
Wave 20 and the final boss
The final boss is not a wave you improvise. Bosses land at the far upper-left of the ship, furthest from the Airlock, according to the official Hull Construction deep dive. That gives you a known lane to prepare. Build a dedicated kill zone along that route, with long-range coverage on the open stretch and short-range punishment near the choke point.
Before triggering the final sequence, check four things:
- Fuel: the ship must keep moving through the fight. Do not let a bioreactor queue run dry.
- Workforce: production should survive a few human losses. If every worker is critical, you have no buffer.
- Turret uptime: no turret should be mid-relocation when the boss lands.
- Leaks: the Airlock should have a credible last line, not a lone intern with a sword.
Do not rebuild the ship at wave 19
Late-run demolition feels productive and usually is not. Every replacement creates downtime, loses the old kit and adds a new resource demand. Make targeted moves and upgrades instead of a full redesign.
Priority build order (not a rigid blueprint)
The shop is random, so a fixed “build this at minute 12” list would be fiction. Use a priority order instead. The right side of the table is the condition that moves you to the next row.
| Priority | What to secure | Move on when… |
|---|---|---|
| 01 | Energy + human production | No module is unpowered or unstaffed. |
| 02 | Minimum turret coverage | The last wave died before the Airlock. |
| 03 | Fuel + human storage | Population is not capped and engines stay fed. |
| 04 | Despot’s Chamber staffing | Free kits arrive without starving production. |
| 05 | Purposeful hull expansion | You have a kit and a useful adjacent slot. |
| 06 | Advanced resource chains | Current defense can survive the next two waves. |
| 07 | Boss kill zone | Wave 20 is close and the lane is covered. |
Five mistakes that end runs early
1. Building modules you cannot staff
An unstaffed module is worse than empty space because it still adds mass and may draw power. Check the workforce before the blueprint.
2. Treating the Airlock as a strategy
Crew units are a safety net. If every wave reaches the Airlock, you are one bad roll from a wipe. Invest in hull coverage instead of adding more bodies to the last room.
3. Expanding for its own sake
Hull blocks are permanent and cost resources. A block without a plan is a slower ship and a longer worker walk. Expand when it creates a useful slot, a better firing angle or a longer enemy route.
4. Ignoring fuel and mass
The ship can limp without a working engine, but “limp” is not a route strategy. If you cannot reach the next opportunity, your factory is just very efficient drifting.
5. Buying a fantasy build
The shop sells what it sells. Holding tokens for a perfect module while your defense leaks is not patience; it is denial. Buy for the next wave. Adapt the build to the kits you actually receive.
First-run checklist
Before every wave
- Every module is powered and staffed
- Energy income is positive
- Fuel is not about to hit zero
- Human storage is not capped
- Both hull approaches have turret coverage
- The Airlock path is clear
- At least one shop box fits the next problem
- No turret is mid-relocation
- Ship mass has not outrun engine power
- A kit is not sitting unused in storage
Hull Rupture beginner FAQ
These are the questions new players ask most often. For the full list, see the Hull Rupture FAQ.
Beginner FAQ
First-run questions
How long is a Hull Rupture run?
A Classic run is built around surviving 20 waves and defeating a final boss. Demo players reported runs ranging from under an hour to several hours, depending on difficulty, route and experience.
Read the full answer →What is the best ship in Hull Rupture?
Only the Izumo has been publicly detailed: a small, maneuverable, low-mass ship built from salvaged parts. The other two hulls are not fully revealed, so a definitive tier list is not possible yet.
Read the full answer →How do you get module kits in Hull Rupture?
Buy themed module boxes in the post-battle shop, or assign humans to the Despot’s Chamber for slow, free random kits. Sell unused kits for tokens. Demolishing a built module refunds resources but not the kit.
Read the full answer →Is Hull Rupture a roguelike or a tower defense game?
Both, plus base management. You build production chains inside a spaceship, expand its hull, and defend it from alien boarding waves. Runs are structured around 20 waves with roguelite unlocks and random events.
Read the full answer →Next step
Once you can consistently reach the mid-game, read the 15 tips and the Hull Construction guide. The first teaches habits; the second turns hull space into a weapon.